
Buy with this product


, transparent")
, transparent")


Similar products


")
")
")


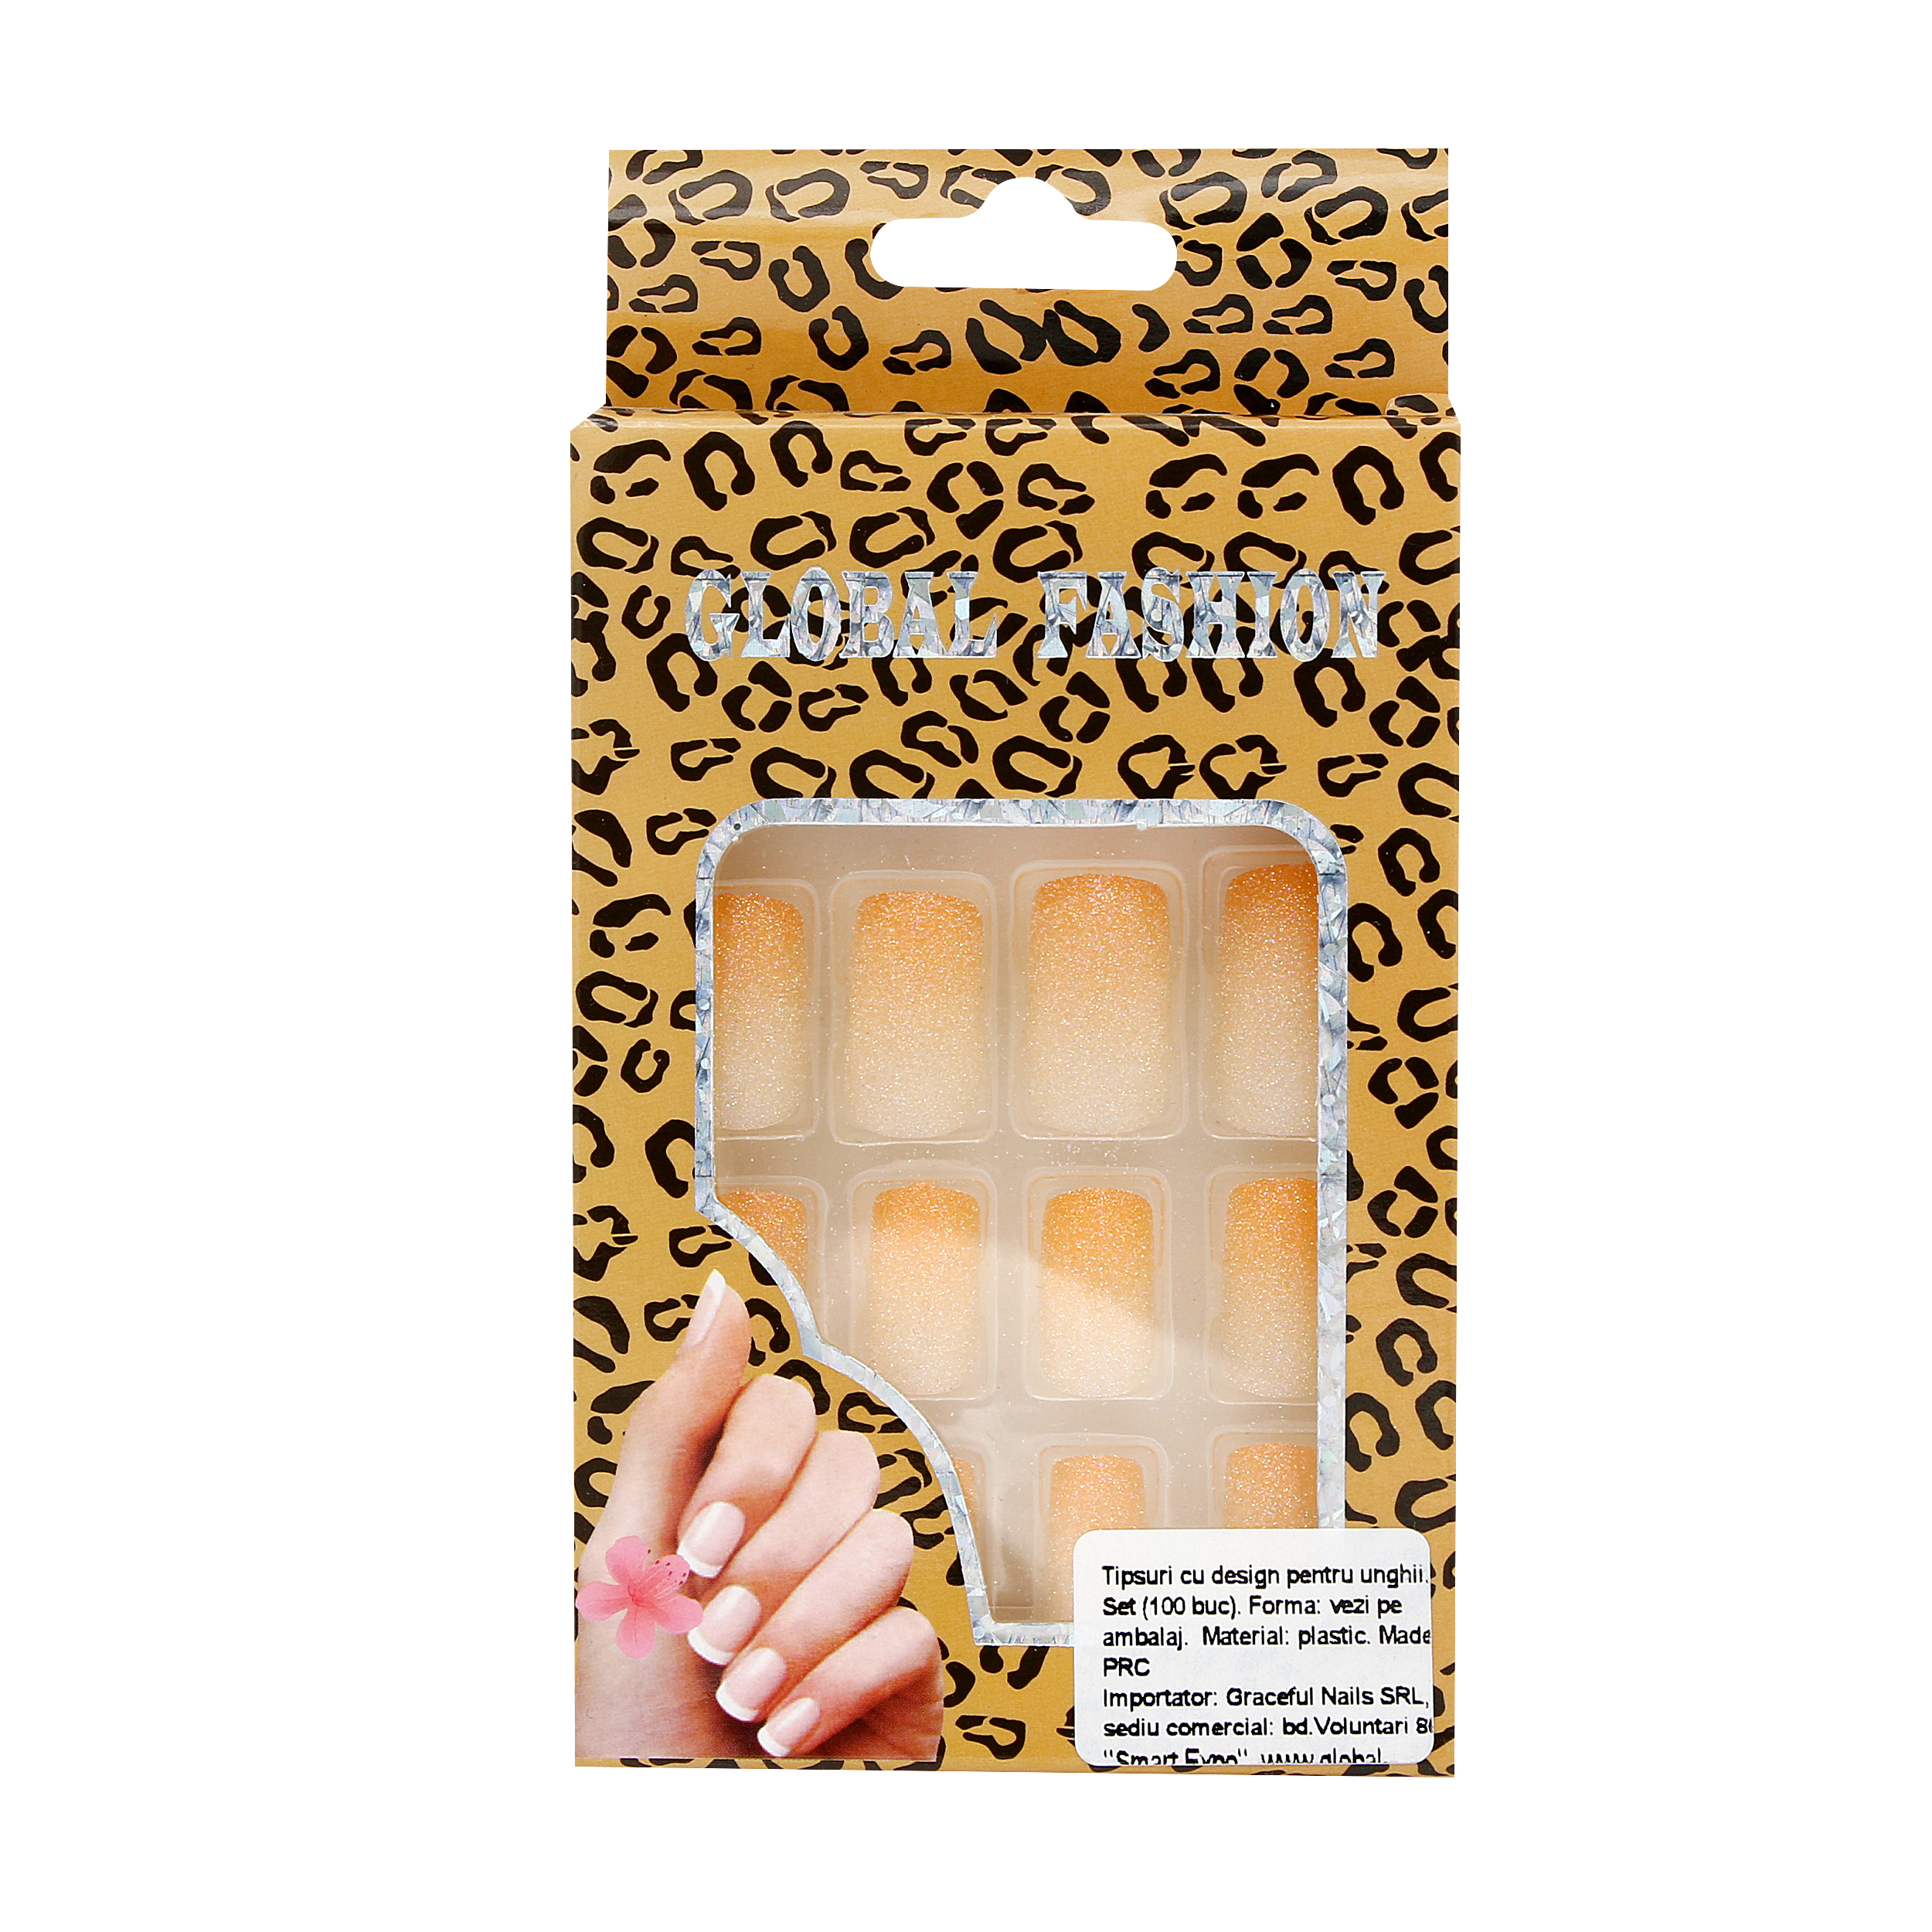
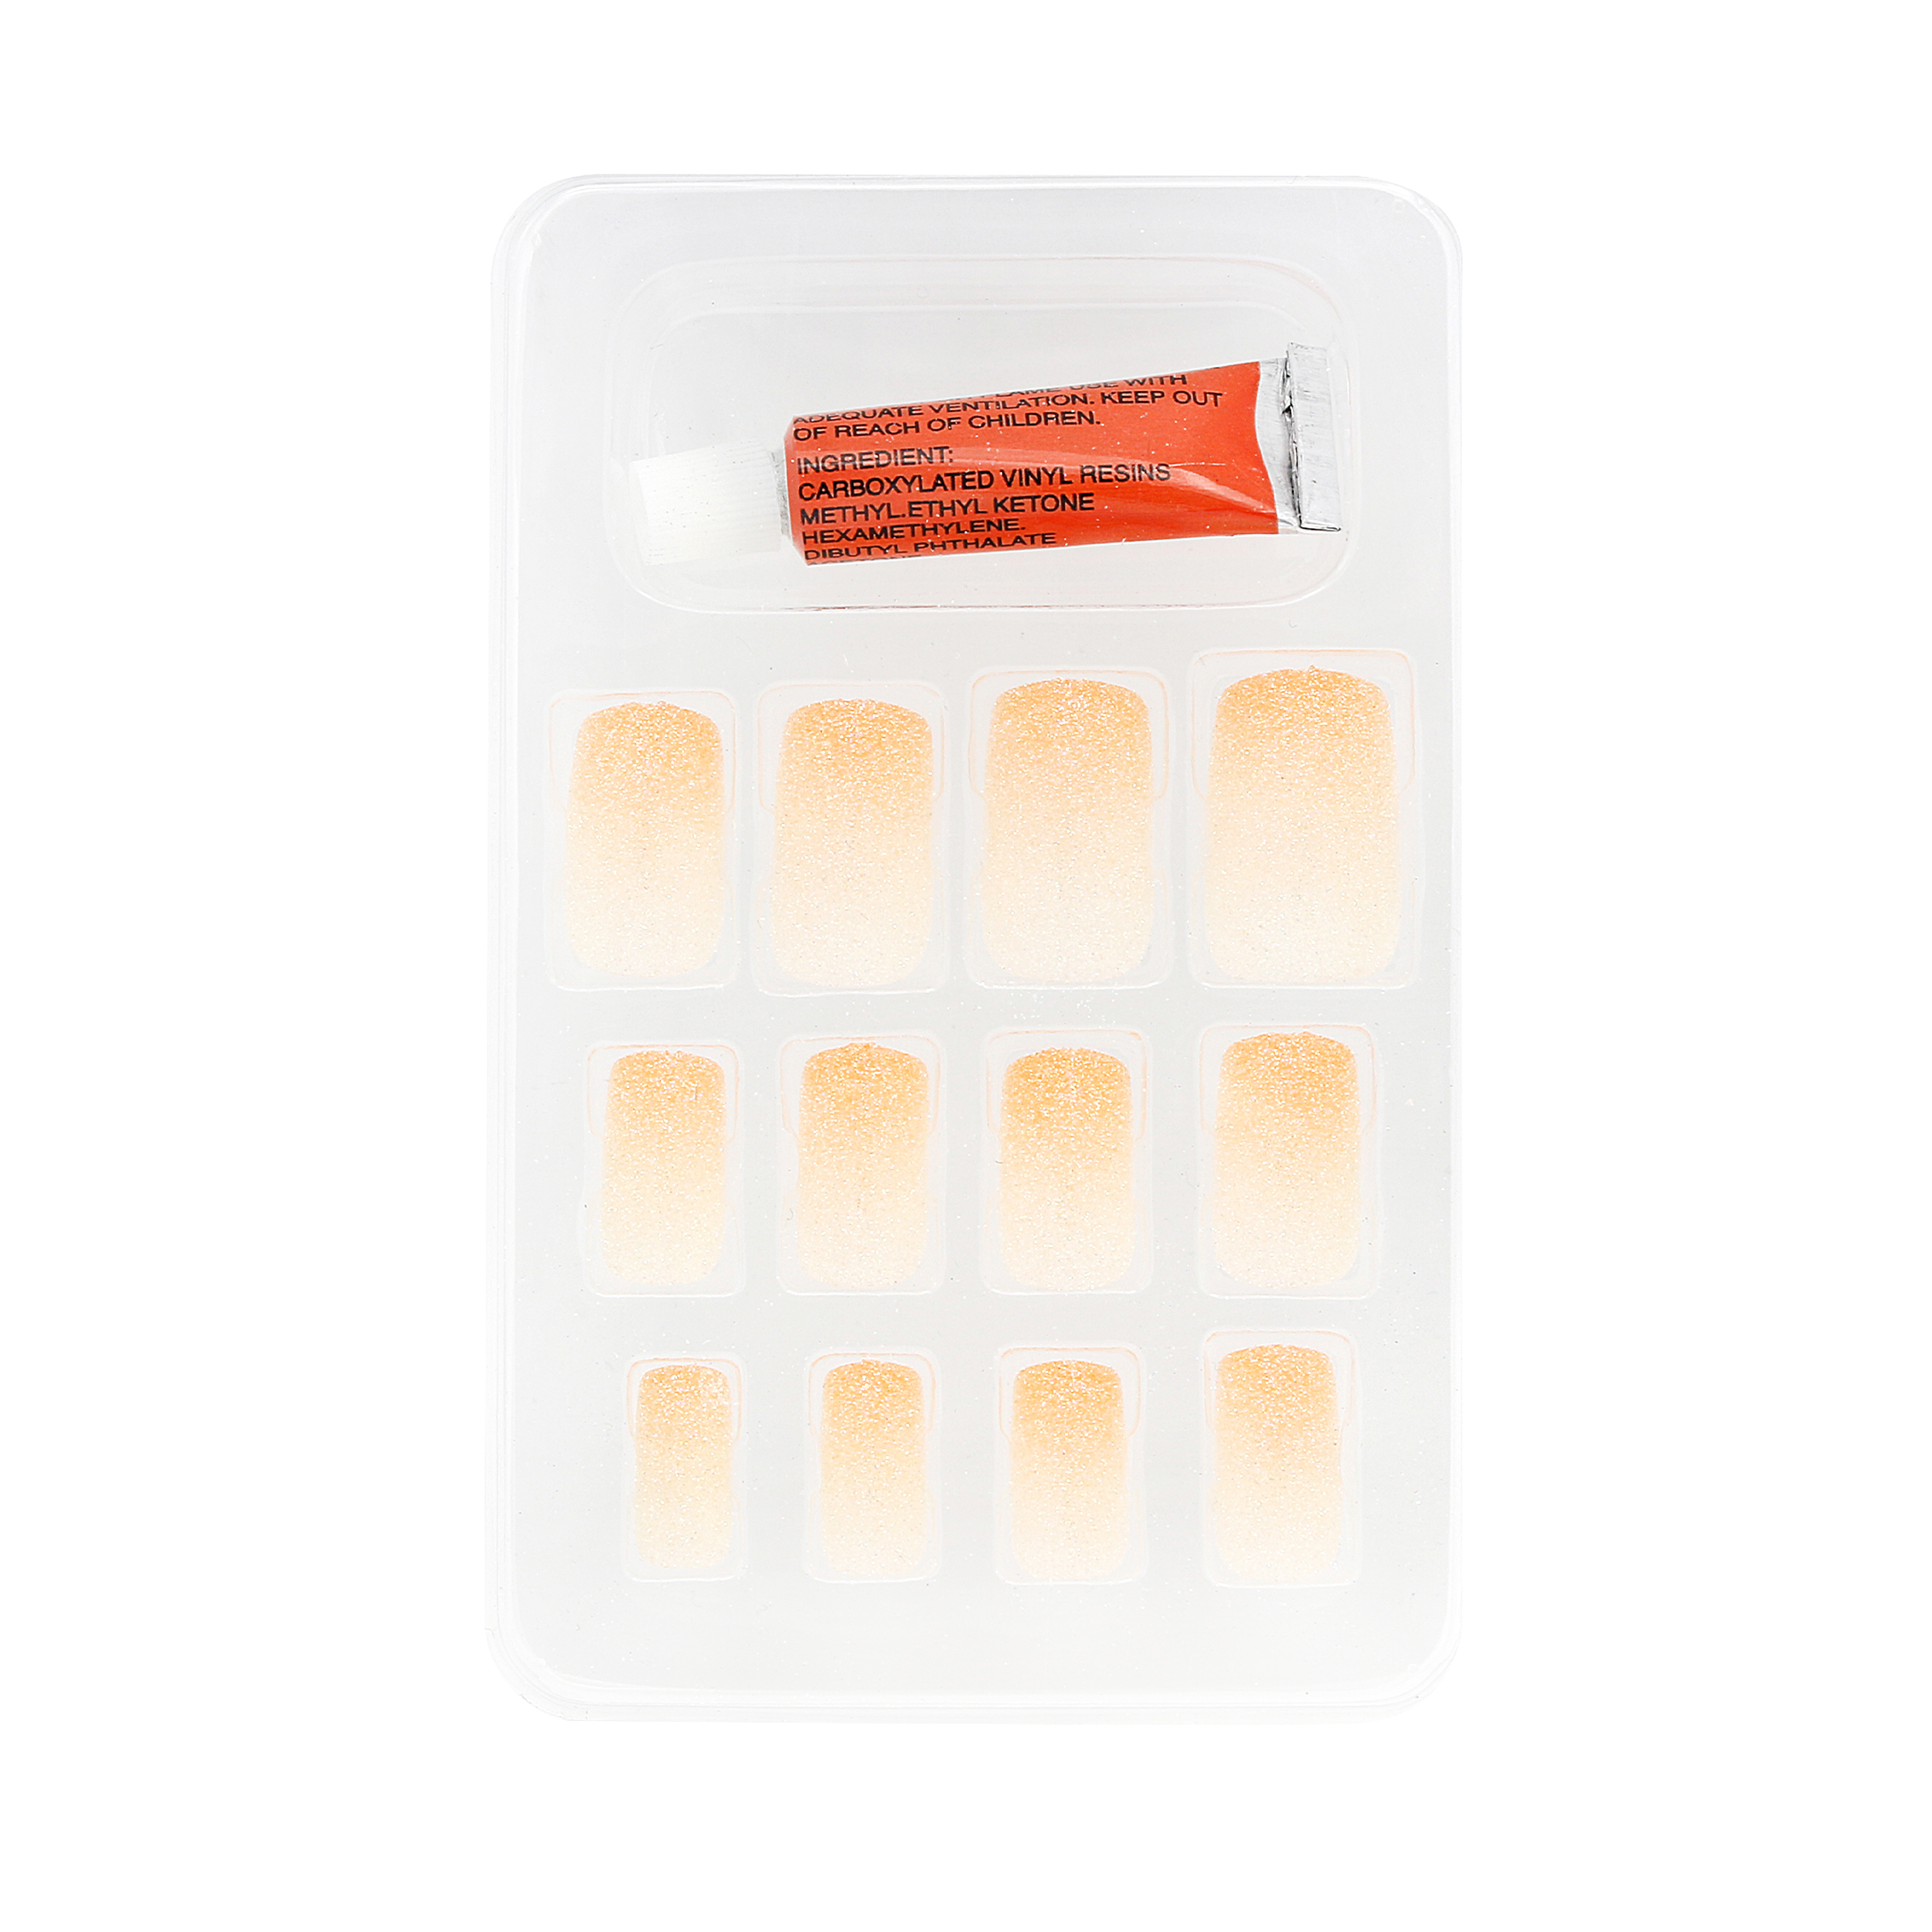
Tips for Nail Extensions: Achieving the Perfect Ombré Look

Nail extensions have become increasingly popular as a way to achieve long and beautiful nails. With different materials and techniques available, the possibilities are endless. One of the most trendy and fashionable nail styles nowadays is the ombré look.

Ombré nails are characterized by a gradual change of color from one shade to another, creating a fading effect. This style can be achieved with nail polish, but it looks more stunning and durable with gel or acrylic nail extensions. Here are some tips to help you achieve the perfect ombré look with nail extensions.

1. Choose the Right Colors

The ombré style looks the best when the colors complement each other and blend well together. When choosing the colors for your ombré nails, consider the shades that match your skin tone and your outfit. Dark to light color transitions are popular, but you can also experiment with complementary colors or pastel shades. Make sure the colors you choose have a similar texture and finish.

2. Prepare Your Nails

Before applying the nail extensions, prepare your nails by trimming and filing them to your desired length and shape. Choose a nail prep solution that cleanses and sanitizes your nails without drying them out. Apply a base coat to protect your natural nails and create a smooth surface for the extensions.

3. Apply the Extensions

There are different techniques for applying nail extensions, including sculpting, tipping, or overlaying. Follow the instructions of the product that you are using and apply the extensions evenly and securely. Make sure the edges of the extensions are smooth and blend in with your natural nails.

4. Blend the Colors

To achieve the ombré effect, you need to blend the colors smoothly. Use a makeup sponge or a soft brush to apply the colors on the extensions. Start with the dark shade at the base and gradually blend it with the lighter shade towards the tip. You can do a couple of coats to intensify the color and create a more gradual transition.

5. Finish with Top Coat

Once the colors are blended, apply a clear or glitter top coat to protect and seal the nails. This will give your nails a shiny and glossy finish, and make the colors pop. Apply cuticle oil to nourish your nails and add moisture to your skin.

In conclusion, ombré nails extensions are a fun and creative way to express your personal style. By choosing the right colors, preparing your nails, applying the extensions, and blending the colors smoothly, you can achieve the perfect ombré look. Share your gorgeous nails on social media and be prepared for compliments!
")
")
")
")
")
")
")


5492 bought
ID: 3678
")
")
")
")
30,60 ron
-10%
870 bought
ID: 5884


18 ron
-10%
348 bought
ID: 11800


29,70 ron
-10%
, fine brush Global Fashion")
, fine brush Global Fashion")
, fine brush Global Fashion")
, fine brush Global Fashion")
, fine brush Global Fashion")


94 bought
ID: 16771


18,90 ron
-10%
")
")
")
")
")
")
467 bought
ID: 6137


12,60 ron
-10%


